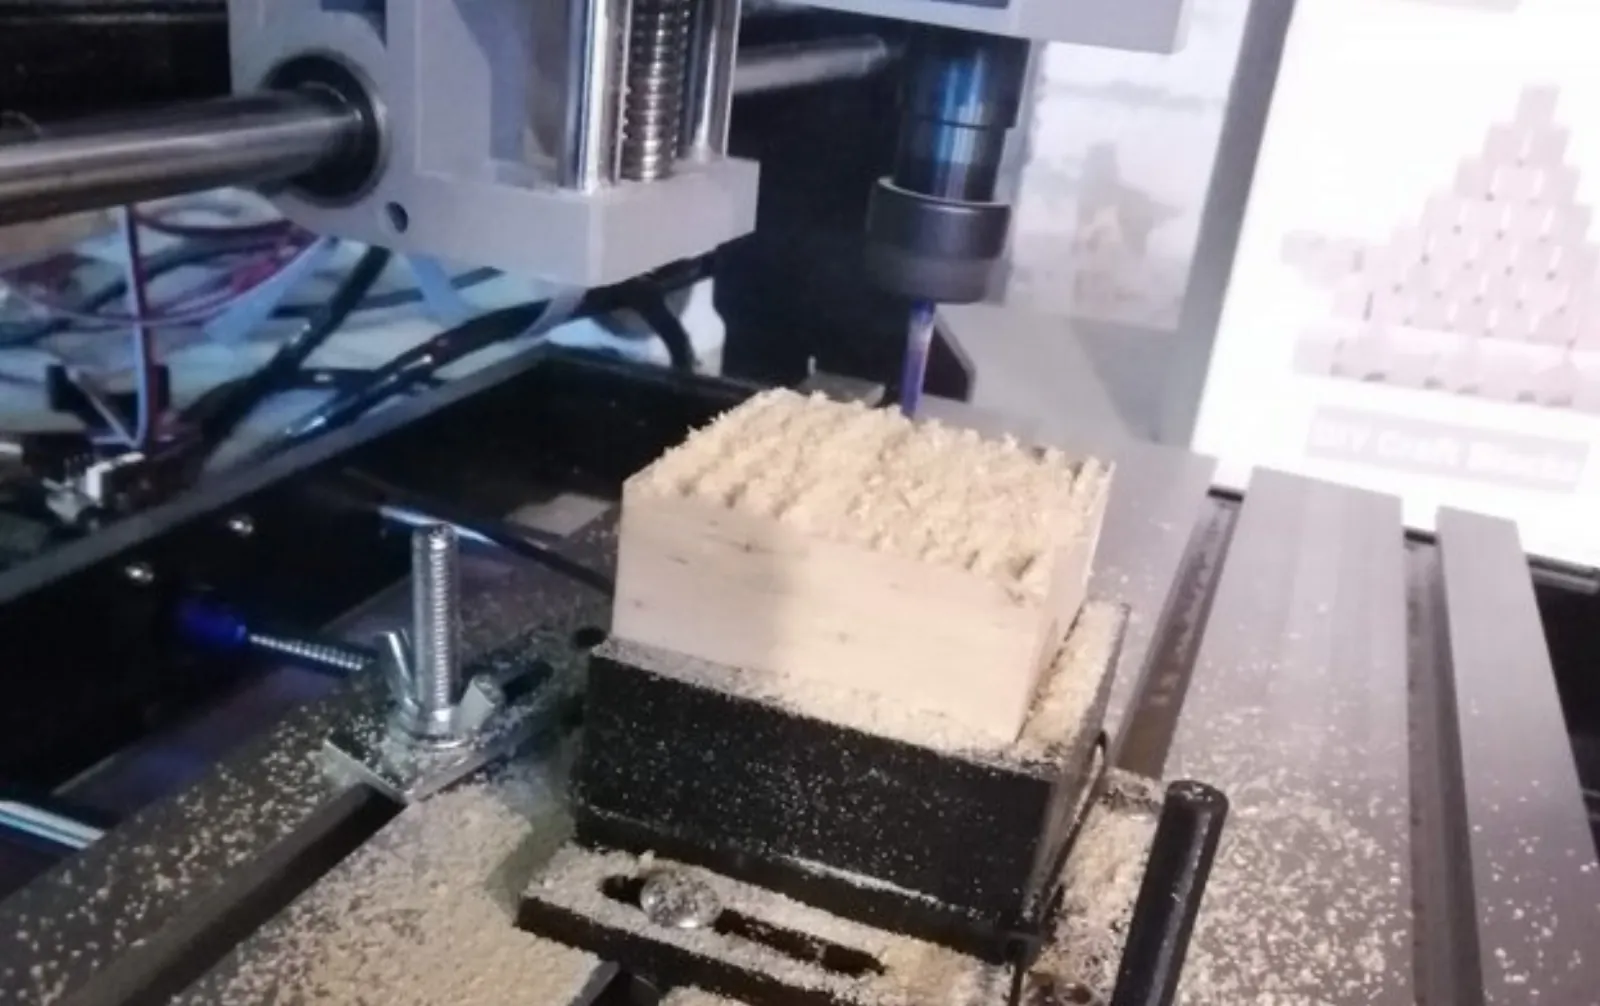
I’ve been interested in home fabrication for a while, with multiple 3d printers, a laser cutter, and more. I started experimenting by cutting small blocks of pine on a small Chinese-made 3018 CNC router. The machine lacks power for anything other than the smallest of jobs in the softest of materials.
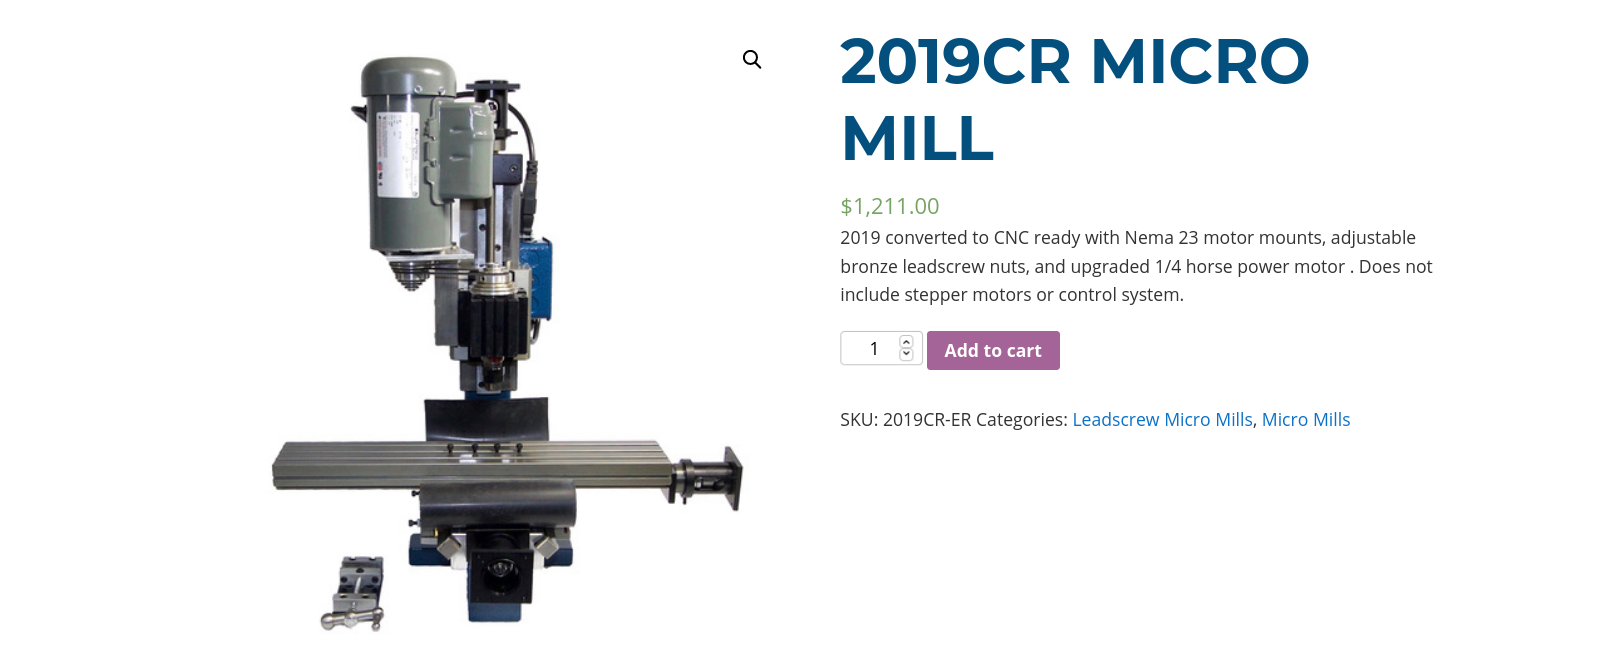
The space of hobby-grade CNC mills is quite small: the Taig mini-mill, Sherline, and Grizzly. Out of these, the Taig’s CNC-ready package offered the most value-for-money, especially since I was confident in my ability to design the actual CNC parts to the mill.
The machine was built on a budget, using commodity parts where possible. For reference, here a comprehensive parts list that will get you from nothing to making chips:
It assumes access to a 3d printer and some basic tools, so you may already own most of the tools.
Component Selection
Here’s the general logic behind the component selection:
Stepper Motors
Why not servos? Because an entry-level EtherCAT or ClearPath servo and driver costs $250. A cheaper Leadshine set runs about $150. In comparison, a reasonably good stepper motor and driver cost about $50 a set. As a hobby-grade machine focusing on aluminum, it is unlikely to ever take a deep enough cut fast enough to force the stepper to skip steps.
Torque vs. Speed
There is a fundamental trade-off in choosing steppers for a CNC machine: torque vs. speed.
As a motor is driven by a circuit, the coils are being rapidly filled and emptied of current. The motor controller tries to move the motor to the next position by changing the voltage across the poles in the motor, but the magnetic coils resist the change and impose a limit on the rate at which you can turn it. If you want to turn it any faster, you have to limit the current fed to the motor so you can overcome it quick enough.
This property of the motor is called inductance, and it fundamentally dictates the torque and speed trade-off of the motor. There is some wiggle room: we can get a better trade-off by moving to a higher voltage, which is why we selected 48V instead of common 24V or 36V standards. We can also switch to a three- or more phase motor (but those are expensive).
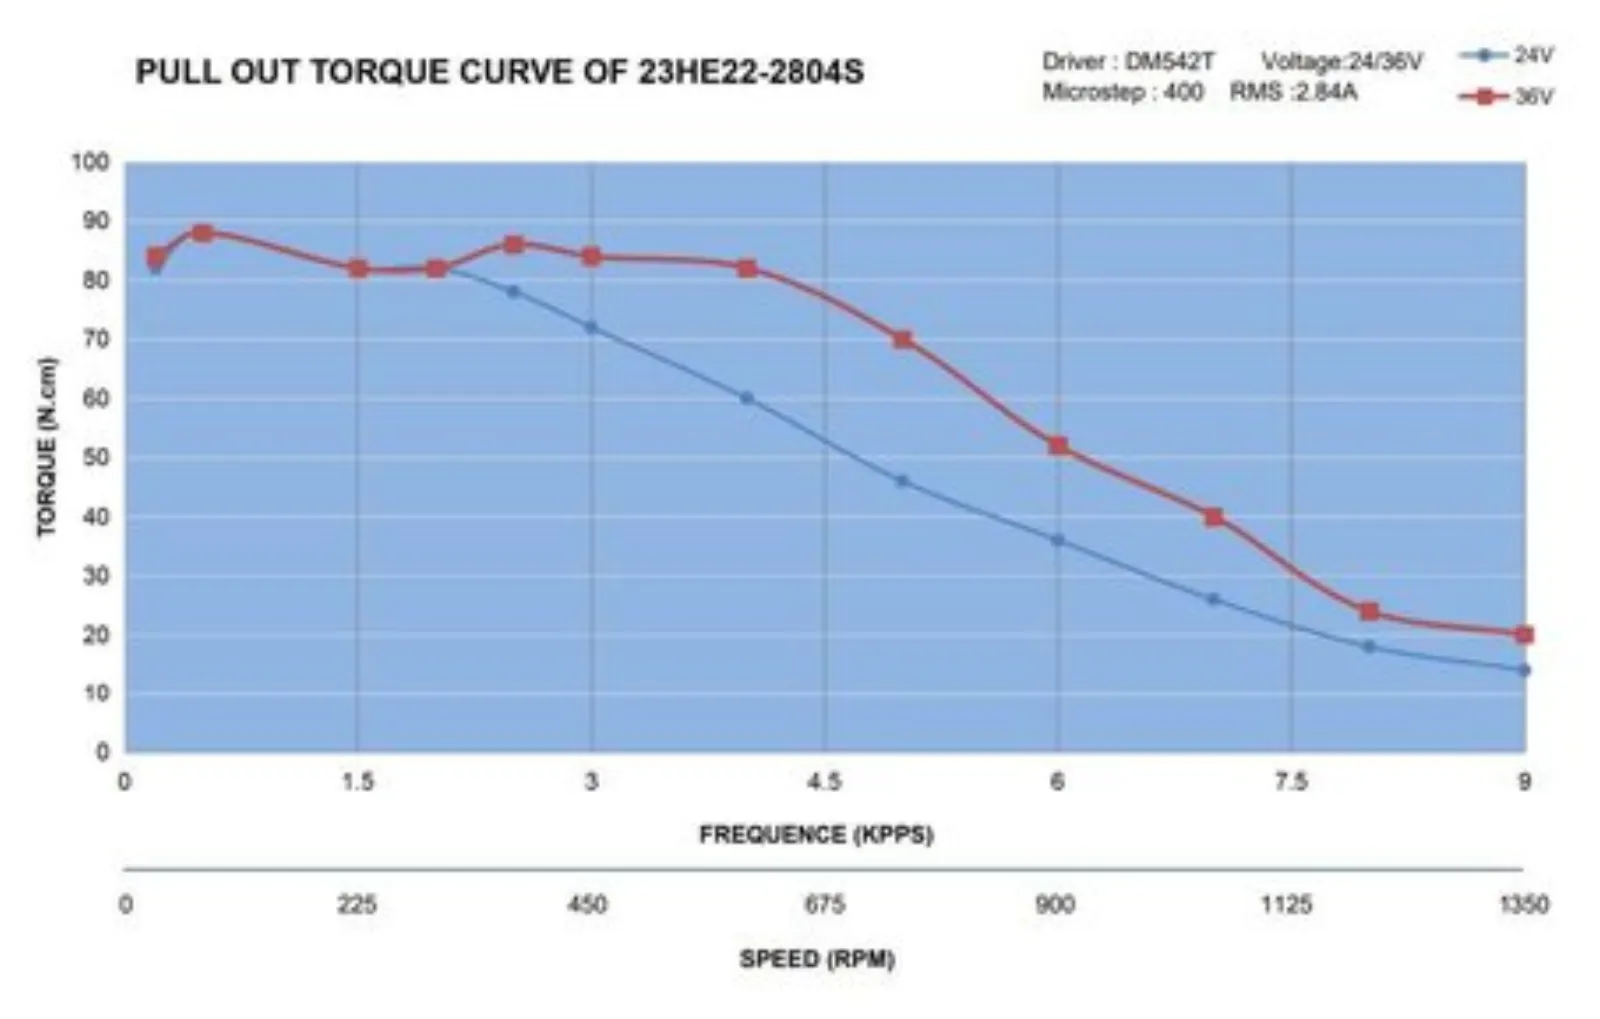
Given that, I picked relatively low-inductance motors for the horizontal axes. These motors can provide more than adequate force at the cutting head, especially since the force is being transmitted through a lead-screw.
The Z-axis motor has more torque (and correspondingly higher inductance and lower speed) because the trade-off is different. Most CNC toolpaths involve moving in the XY plane at a series of fixed heights, so the Z motor spends more time holding position than moving.
The form factor (NEMA 34) and shaft diameter (6.35mm) are dictated by the Taig mill.
This article goes into detail on this tradeoff.
Controller
I picked the grblHAL software running on this controller board.
Mach 3, Mach 4, or LinuxCNC are all far more popular than my choice. For my mill, I wanted to pick an open-source option that I could tweak as I saw fit, which excludes the first two. LinuxCNC is a little odd in its structure.
grblHAL has a much more compelling structure – it cleanly separates realtime control (handled by the board) from the interface (handled by a computer). Also, it supports hardware plugin drivers for custom modules like automatic tool-changers and control pendants, both items I am interested in building myself.
Case
It is traditional to use a electrical cabinet or industrial enclosure to hold the electronics. These are vastly overpriced and would need me to build an entire internal frame to hold parts or to punch holes through the cabinet.
Instead, I picked a cheap PC case with an acrylic side panel and filters on the air intakes. The grid pattern on three sides offers many convenient mounting surfaces for small brackets. Also, being a PC case, there are convenient (and standardized!) interfaces for ports in the rear.