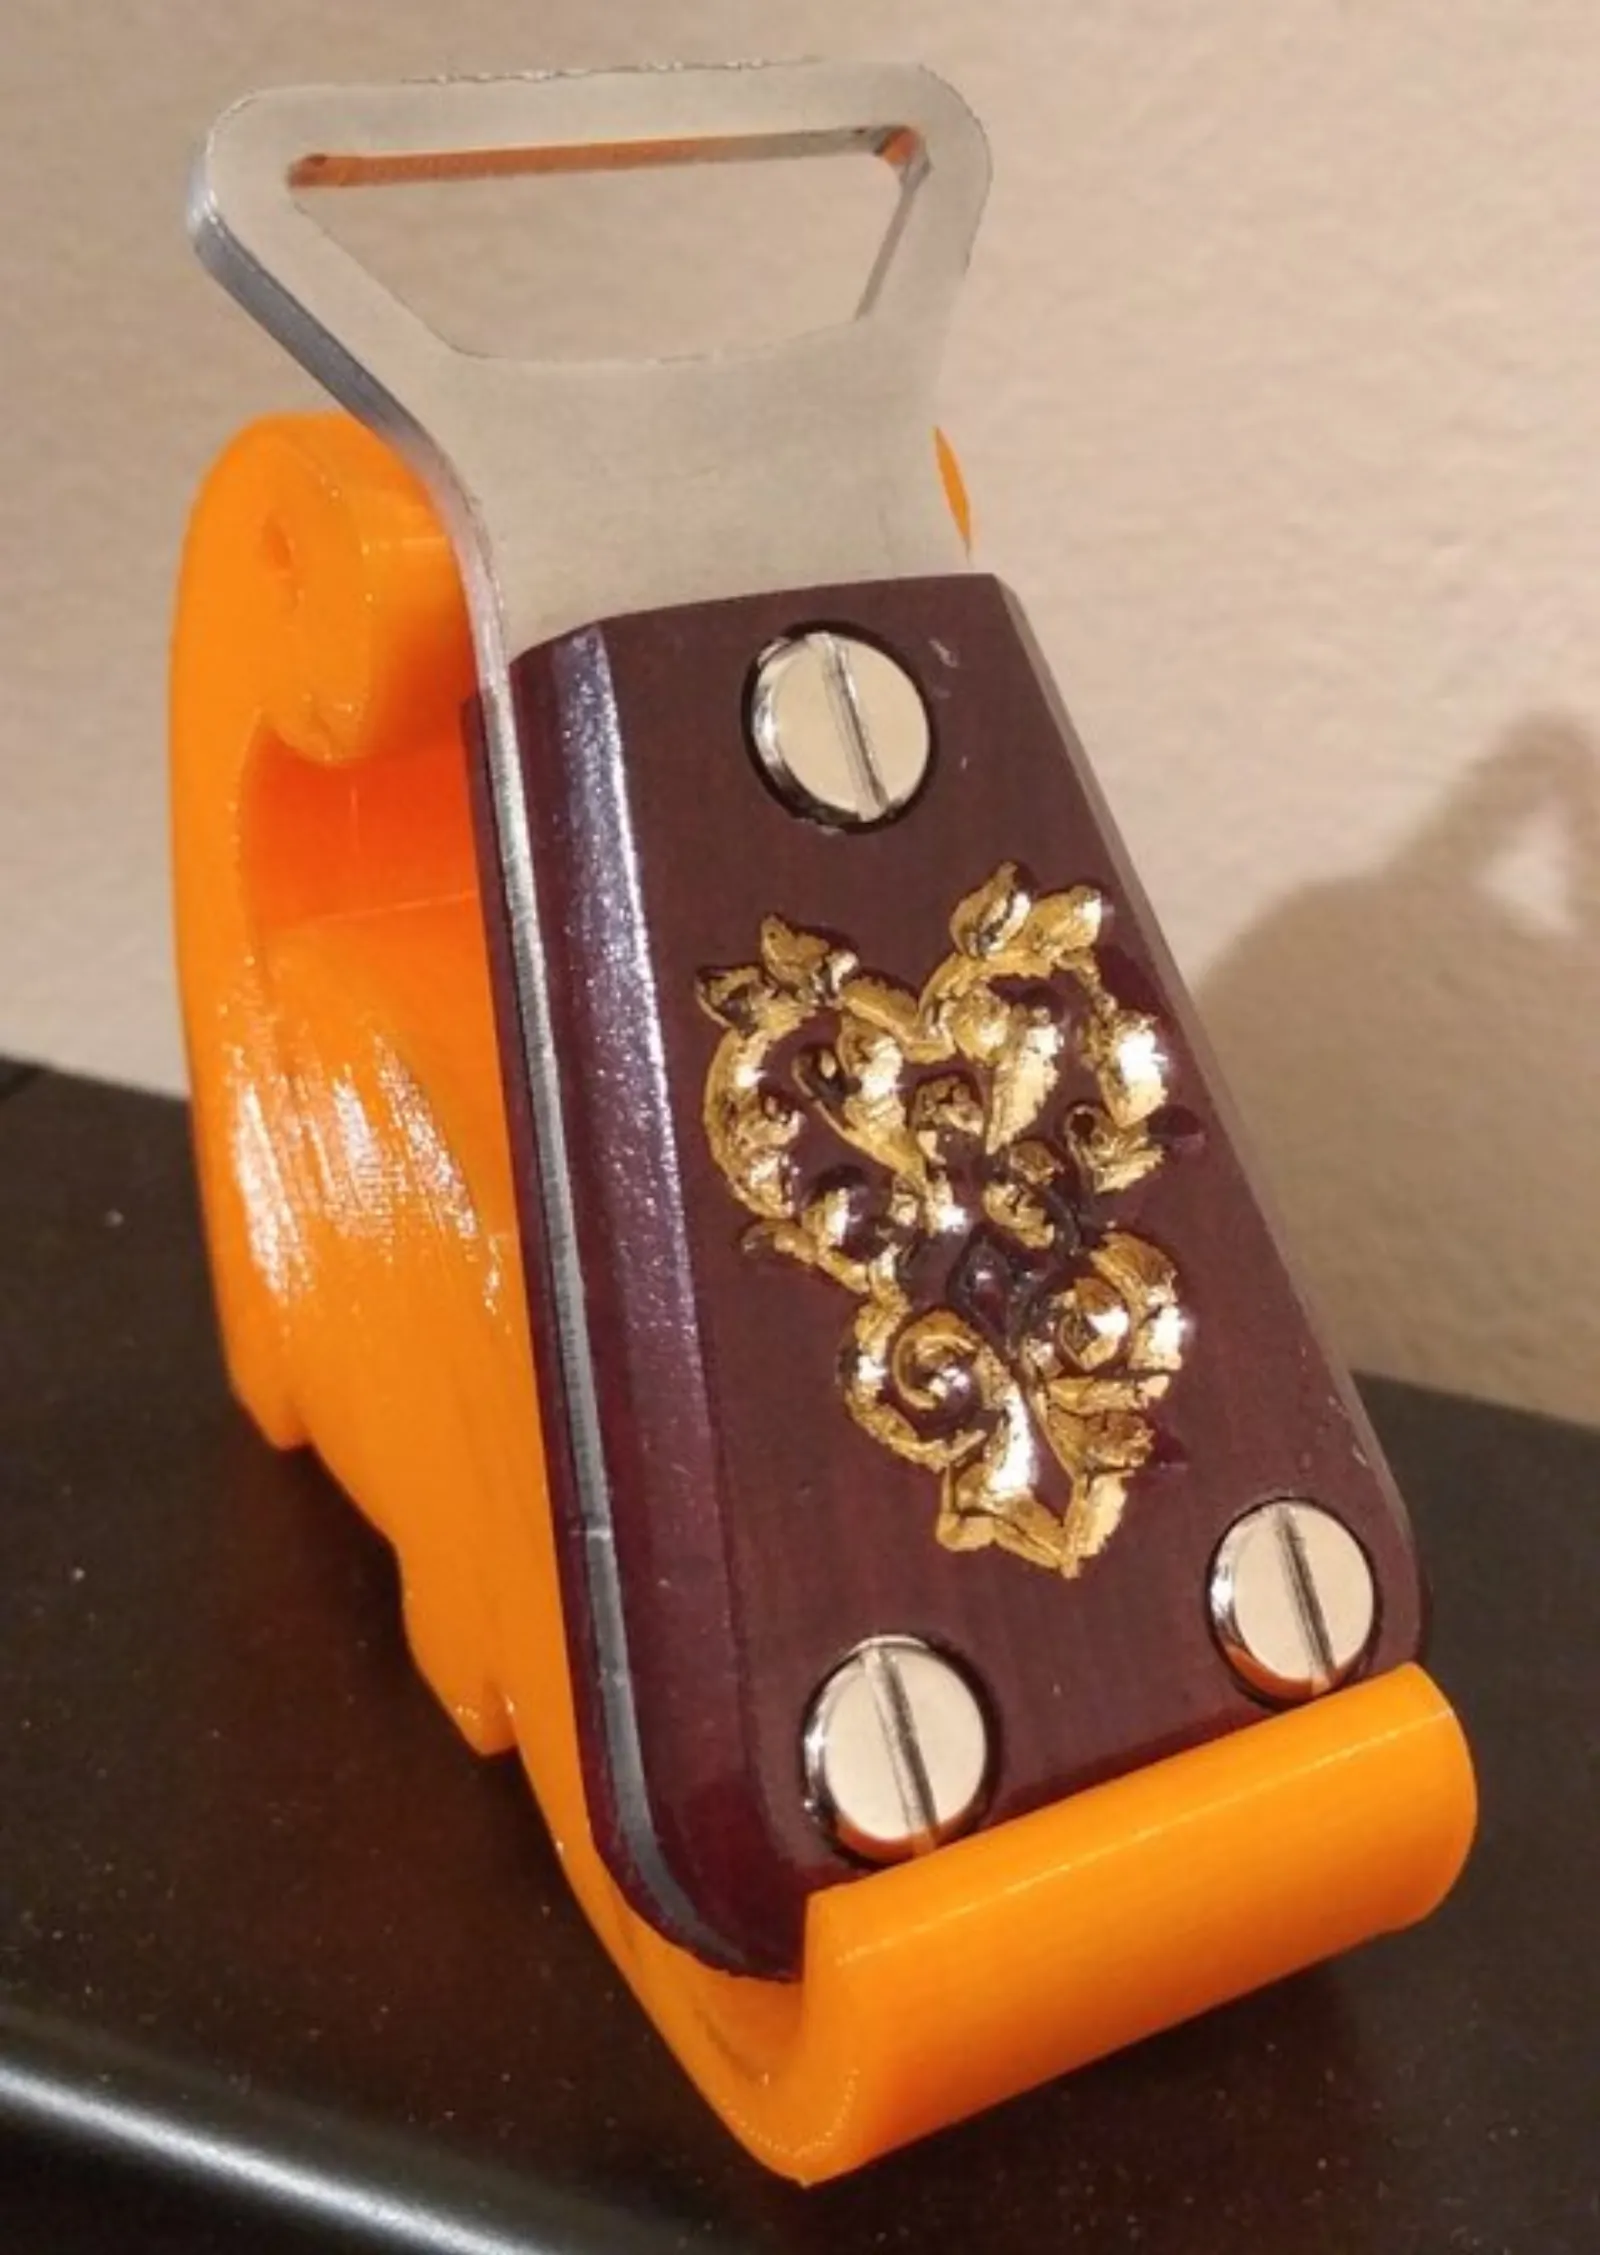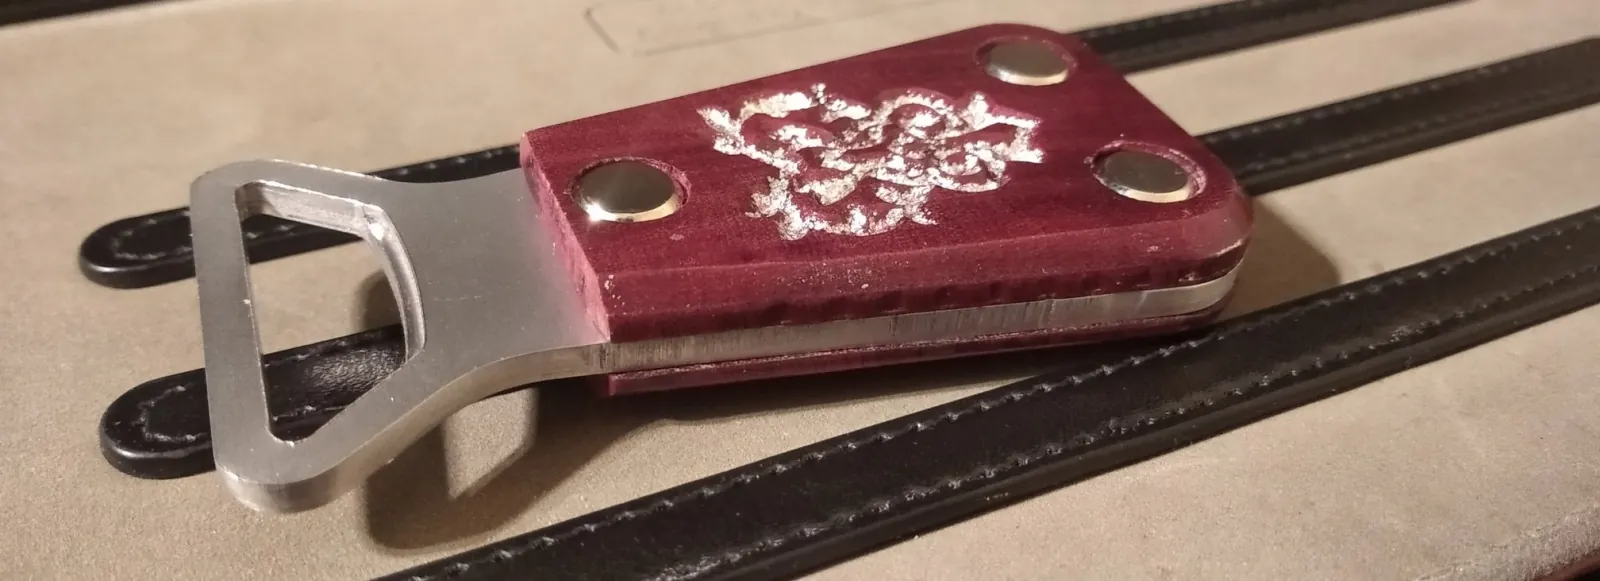
As my first proper metal project on the CNC mill, I made a bottle opener using wood and aluminum! I’ve applied a bunch of techniques from my earlier knife project to decorate the wood scales. This is made from 1/8” (~3.125mm) aluminum sheet, and 10mm slices of 50mm × 50mm Amaranth (Purpleheart) wood, with some Chicago bolts to hold everything together.
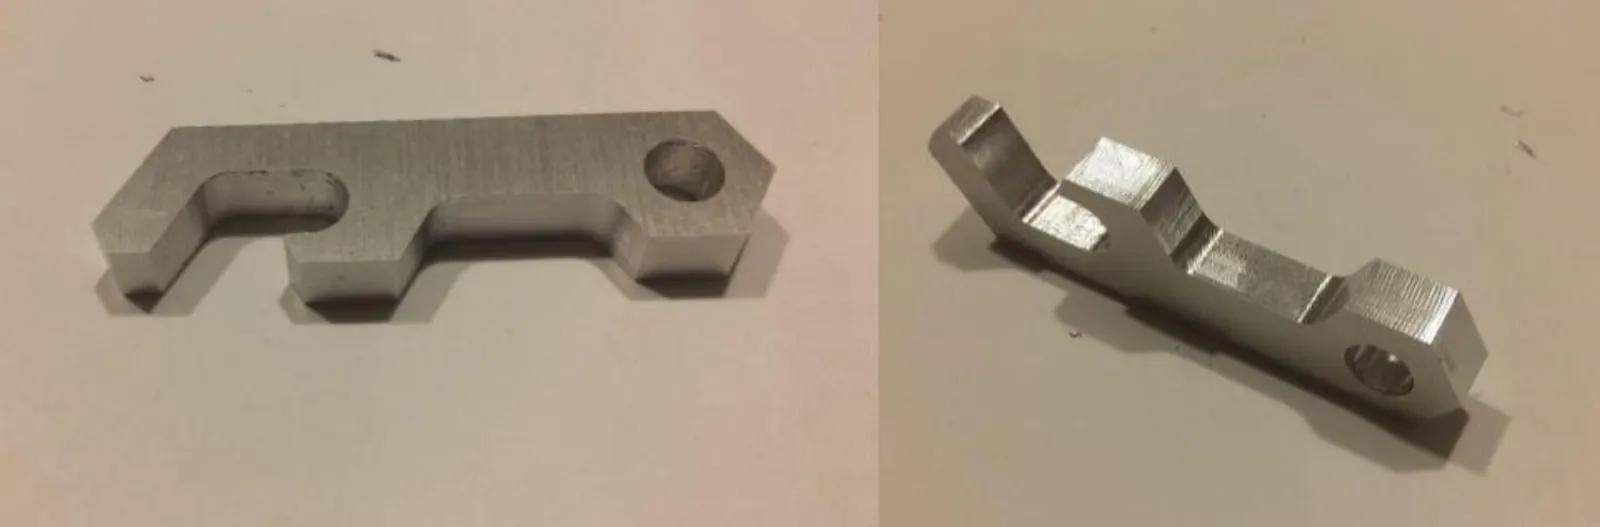
My first attempt at a bottle opener was much simpler, just a contour cut from a block of 6mm metal.
This attempt was a lot more sophisticated. The milling happens in four stages:
- Operation 1, aluminum. Clamp the 3mm aluminum block in a vice. Use the 1/8” end mill to:
- Bore three 5.5mm holes for the Chicago bolts
- Adaptively clear the area inside the blade, leaving .5mm radial stock. 50% tool engagement works reasonably well.
- Contour Finish the inside using a slow (200mm/min) contour pass. At this step, cut out the step that engages the bottle cap.
- Operation 2, wood. Clamp each part in a vice in turn, taking care to use the minimum amount of torque.
- Face the part to a height of 6mm.
- Bore three 5.5mm holes.
- Bore three 10mm countersinks to a depth of 1.5mm
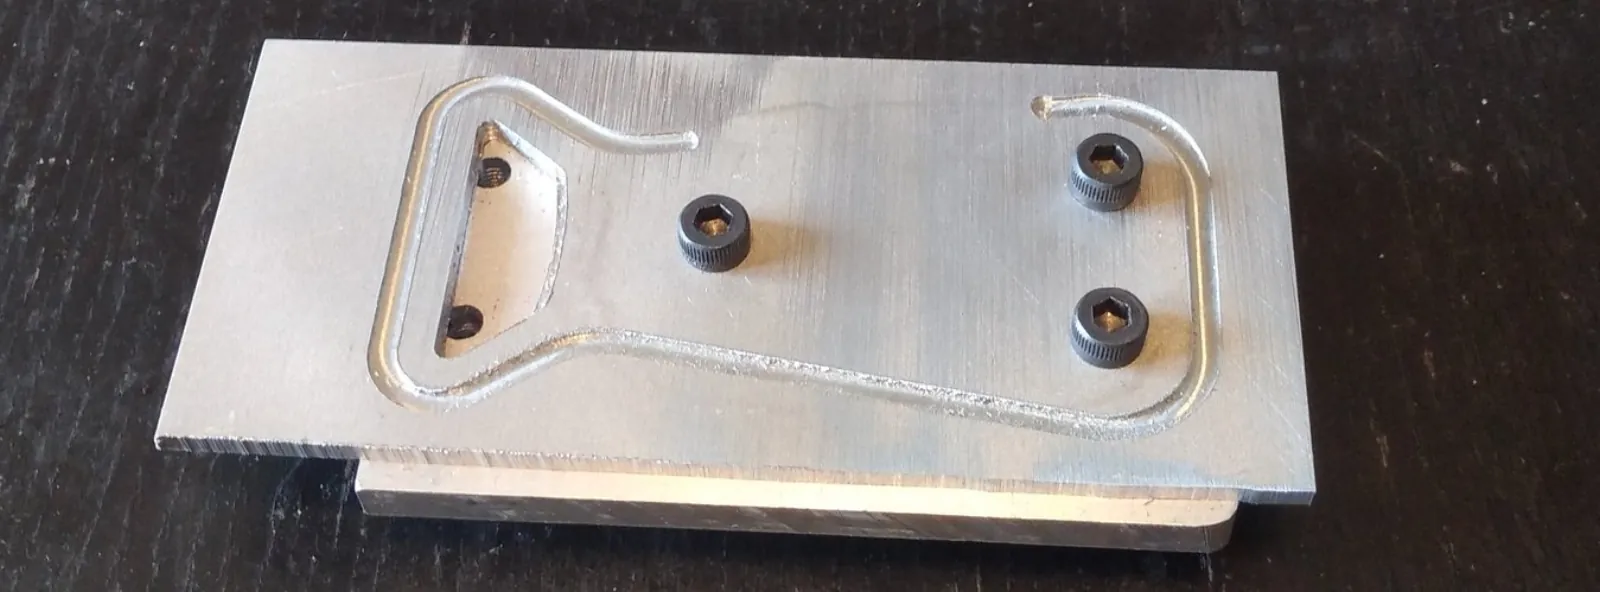
- Operation 3, aluminum. Attach the aluminum plate to the fixture with M5 bolts.
- Contour around the edges with a 1/8” endmill, leaving tabs so the leftover aluminum remains secure. (If I had to do this again, I’d use a 1/4” endmill to rough out the entire leftover aluminum. That would be less annoying than dealing with tabs. The tabs cause a noticeable change in surface texture that can’t be removed by sanding)
- Operation 4, wood. Bolt the wood to the fixture using M5 bolts.
- Adaptively clear the outside of the profile using a 1/4” endmill, leaving .5mm stock for later sanding. Both-ways roughing speeds this up.
- Engrave the pattern with a V-carve bit.
- Chamfer the edges with a V-carve bit.
The cutting fixture is a piece of 1/4” scrap aluminum with the same hole pattern tapped for M5. The bore holes in the aluminum part are 5mm, which is exactly large enough for the outer diameter of the M5 bolts. I produced the cutting fixture and all parts without taking the fixture off the vise to avoid having to re-position it. A 3d-printed hard stop works well enough for this task, especially because none of the dimensions in operations 3 and 4 have critical tolerances.
Finishing this is the most time-consuming part of the project, as usual. The finishing steps are:
- Temporarily bolt the two wood sections together and run a belt sander on the outsides to approximately the final contour.
- Hand-sand the wood down, to remove tooling marks.
- Lacquer the wood sections
- Add leafing size (adhesive), then leaf.
- Use solvents and/or sanding to clean up leaf edges.
- Lacquer, twice, with a few hours in between.
- Scotch-brite, then blast the aluminum surface with the bead-blasting machine (from the CMU machine shop).
- Assemble with Chicago bolts, using a piece of solder as a thin washer to ensure the bolts are not loose.
After all that, we get this little beauty.