To improve cutting performance with the mill, I built a minimum viable flood coolant system for under $200. This system can be turned on and off from G-code, and its pressure can be set manually. The system layout is pretty simple, and I will add a system diagram here when time permits.
Coolant Delivery
Coolant from the sump is pumped through the system using a submersible pump rated to 400 Gal/h pump (420 ml/s). The power to this pump is controlled using a solid state relay and can be switched from gcode. The actual flow rate through the system is substantially less, about half that. The ratings assume ideal conditions and we’ll be introducing a lot of losses by forcing the fluid through narrow tubing and a filtration system.
This goes through 3/4” tubing to a canister water filter with a 40-micron sediment filter. This removes fine swarf from the system – the coarse swarf (> 400 micron) is filtered as part of the sump return path. When milling aluminum, there should be very little swarf in the sub-400 micron range, so these filters remain good for months.
After this, there is a manually actuated ball valve that provides an optional return path. This overpressure valve is used to control the pressure at the nozzle without damaging the pump. As the speed of the pump motor cannot be controlled through PWM, and since the motor needs some minimum flow rate for internal cooling, the use of a continuously flowing overpressure valve is necessary.
To help with the velocity of the coolant, the pipe diameter is reduced from 3/4” to 1/4”, which makes the coolant flow fast enough to blow aluminum chips away from the cutting zone.
Sump Design
The first time you run the coolant, be sure to check that the return rate is sufficient to keep the pump immersed. A lot of fluid will remain in circulation (in the filter body, in the tubes, trapped in the swarf and slowly percolating down, etc.) and can starve the motor of fluid.
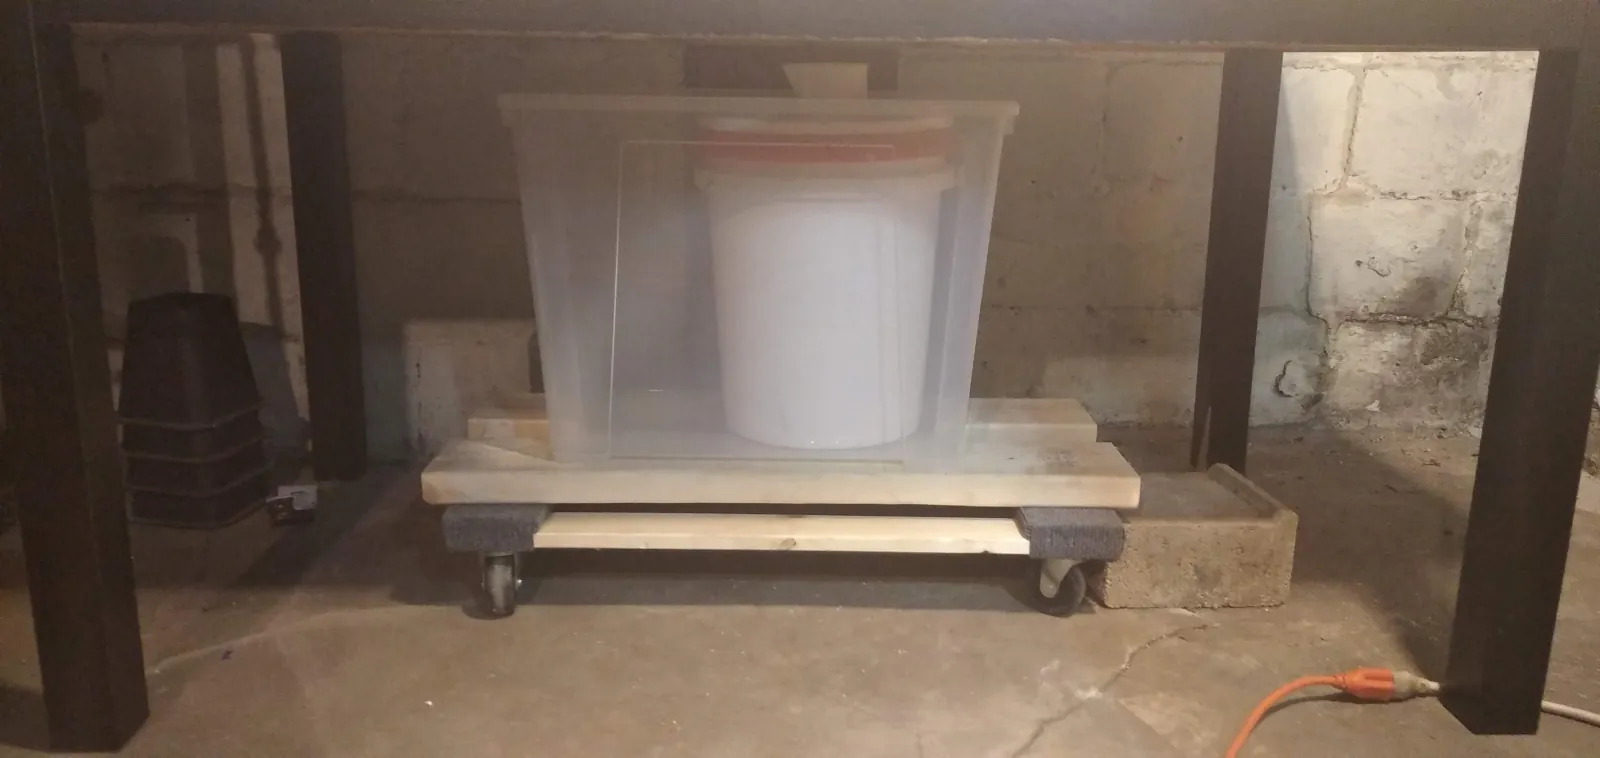
Other than that, the return design is simple: there is a bucket with a 400-micron paint filter to catch the swarf, and this bucket is fed by a funnel-and-spout system to direct coolant down through the drain hole at the bottom of the enclosure. This design allows the entire tank to be mounted on a dolly so it can be wheeled in and out for cleaning. Here it is, pictured without a 3d-printed spout extender:
With this design, cleaning the sump is easy, especially if you remember to wait until the spout stops dripping.
Fittings
Having done a little recreational plumbing, I was expecting that finding the right fittings at a store would be a challenge. I didn’t expect that none of the local stores would stock every item that I needed. Instead, I went to McMaster-Carr, who sorted me out for $40 including shipping. Through what I can only assume is witchcraft they got the parts to me in under 24 hours.