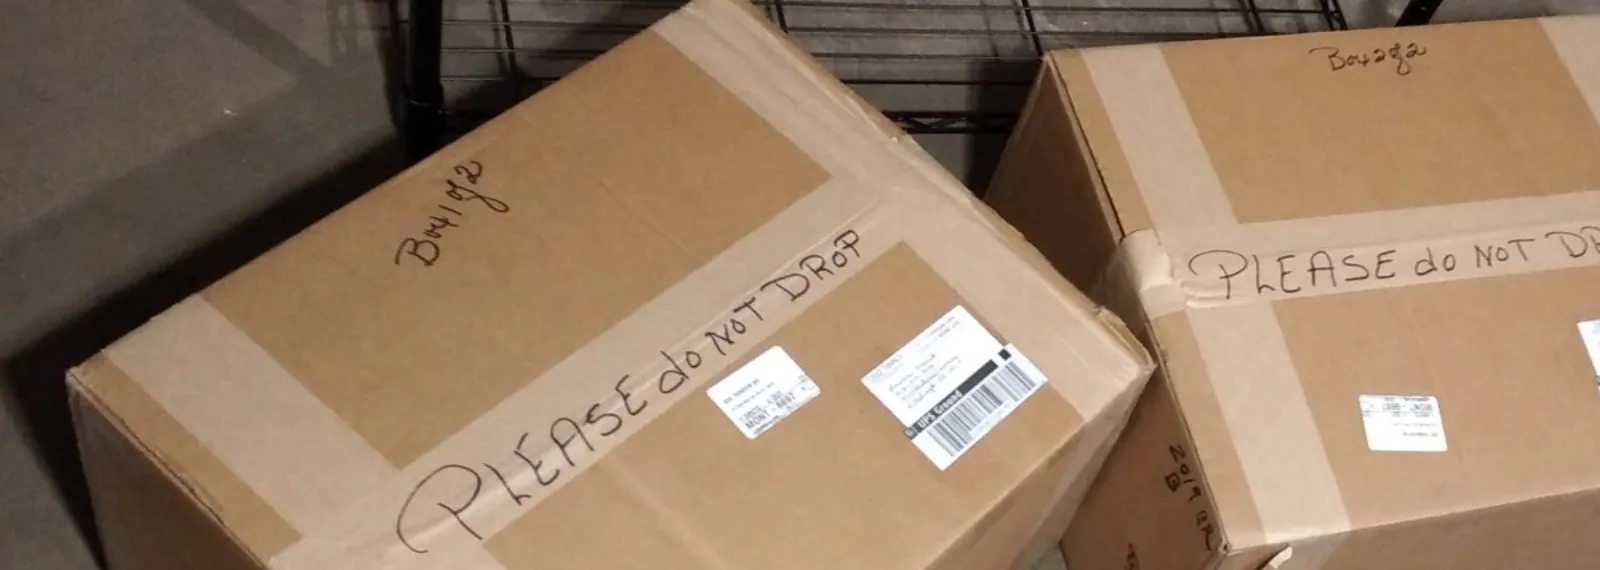
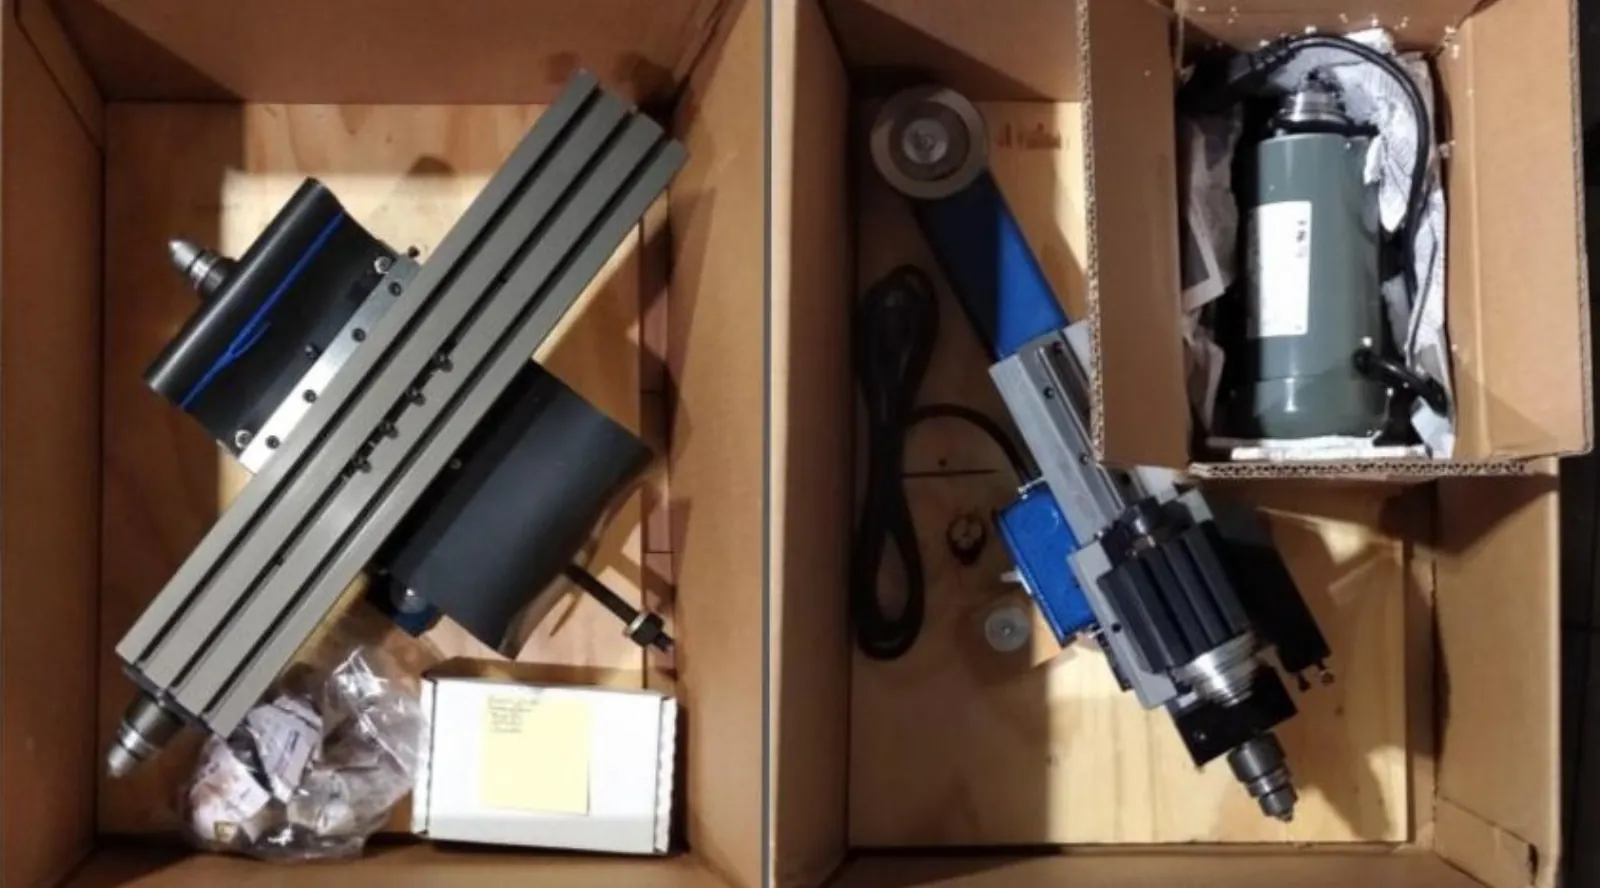
The Taig mill was delivered by UPS in two boxes, with all heavy components bolted down to wooden boards in the bottom of each box. The motor and Z-column came in one box, and the XY assembly in another.
The motor is mounted to the Z carriage. I did this after joining the two assemblies together, but it would have been much easier to do that first.
Assembling the mill is simple – the two parts bolt together from the back. A layer of anti-seize is applied between the two mating surfaces, the head is roughly trammed using a machinists square, and the bolt is tightened.
At this point, the head is only coarsely perpendicular to the bed. We need to align this bolt precisely before attempting to calibrate anything else. Fine tramming is done using a test indicator mounted to the spindle, indicating off a 1-2-3 block bolted down firmly.
Component Assembly
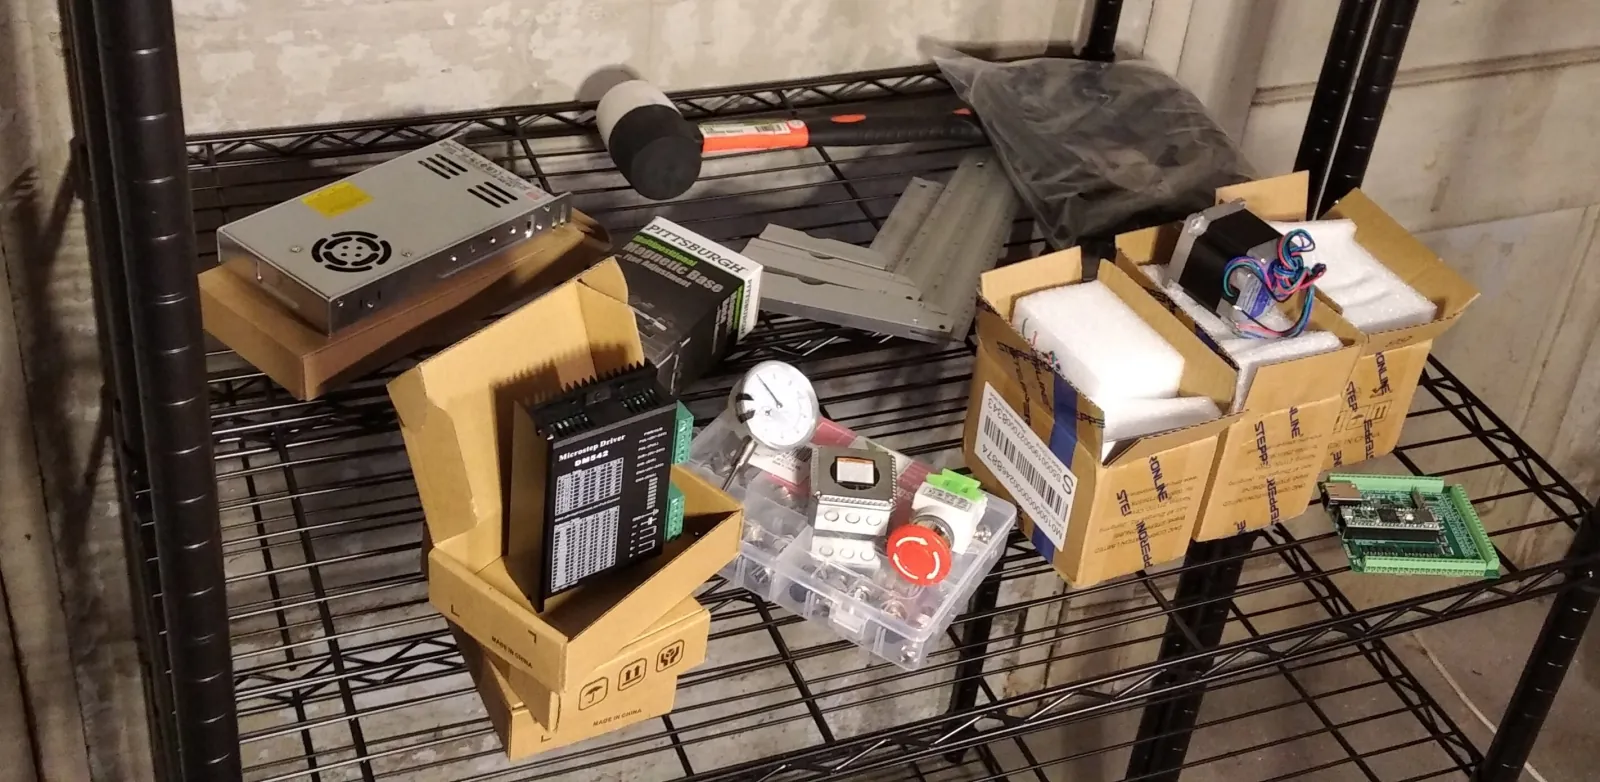
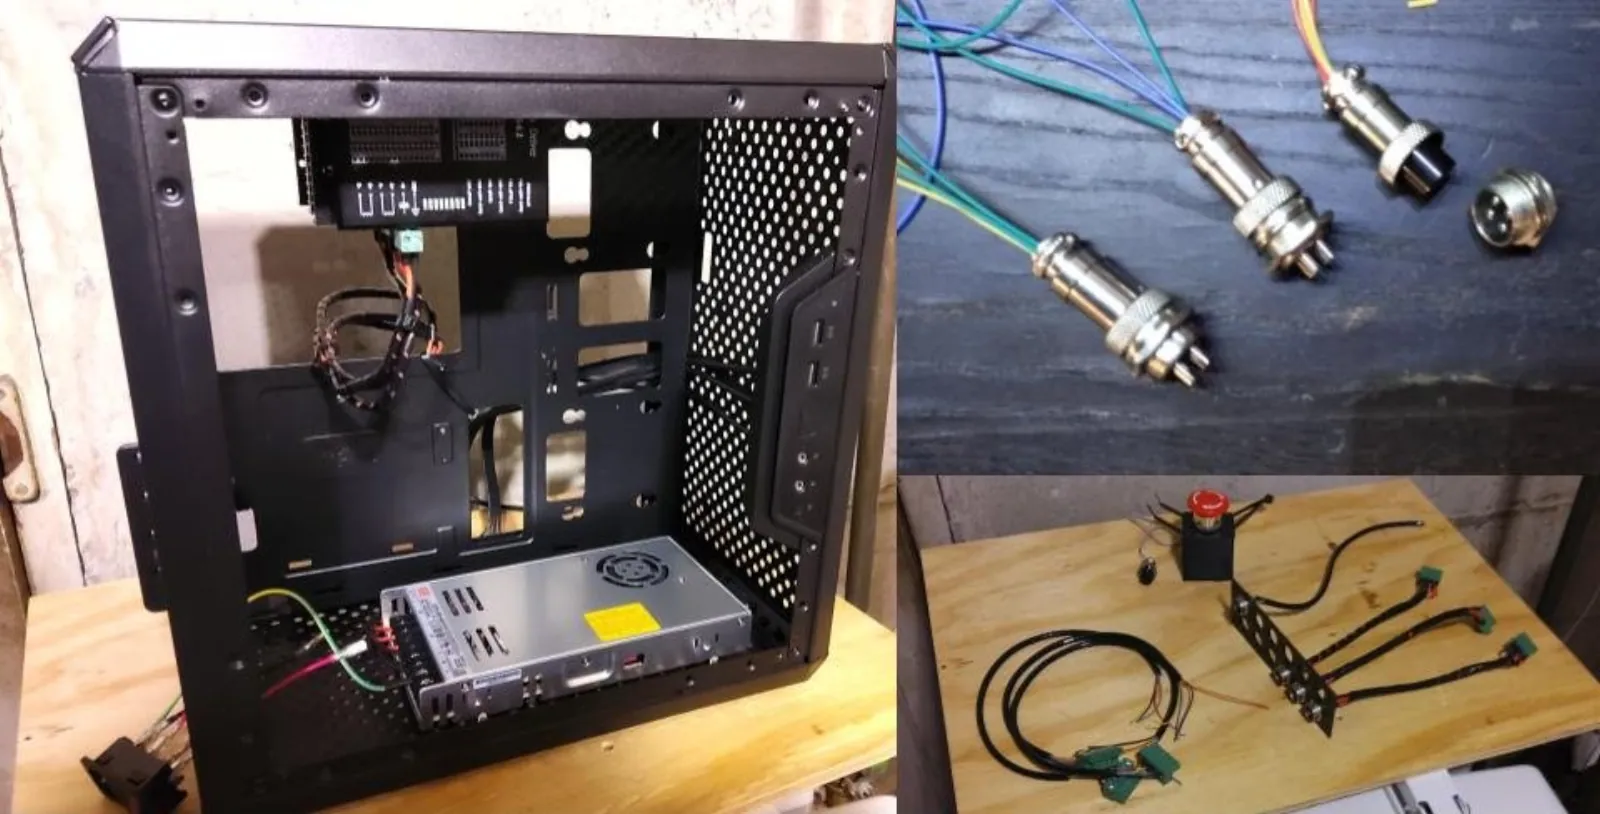
As the components arrived, I began to lay them out inside the case. All cabling between the machine hardware and the control box passes through a 3d-printed patch panel using GX16 connectors. (Similar to DIN connectors, but more easily available in the US.)
Wiring, cables, and components are standardized:
- Wires are assembled and bundled using wire wraps to make it easier to deal with them.
- Similar-purpose wires and components are interchangeable to make it easier to build and replace them. For example, all endstops and motors are interchangeable, both the components outside the case and the wiring between components inside the case.
- Connectors are assigned by purpose:
- 2-pin GX16 connectors are to drive external relays. This is used to switch the motor relay.
- 3-pin GX16 connectors are for external switches, with (-, Signal, +) pins. These are used for endstops, door sensors, etc.
- 4-pin GX16 connectors and 4-pin pluggable screw terminals only ever carry two-phase motor signals.
- 5-pin GX16 connectors carry workpiece probing signals and data, with one pin reserved for plug-in detection.
- Wires are wrapped to help keep them together. Internal cabling uses lightweight wire wraps, and external cables use a more sturdy plastic tubing.
All this is an application of the “poka-yoke” concept to reduce errors in building and maintenance. This also meant that the wiring could be completed before all the parts were delivered, which really saved time.
The Case
Instead of using a more traditional electrical cabinet, I found a cheap $50 computer case with a hex grid of circular holes. This case has all the features of a more expensive electrical cabinet: plenty of mounting surfaces, air filters on intakes, space for standardized patch and power panel, and a plastic window.
Simple 3d-printed parts are used to make adapter rails between the screw pattern of the case and the components, and to act as stand-offs for power components.
One important safety precaution taken is to cover all exposed mains-power components with electrical tape once assembled. The last thing I want to have happen is some small metal part fall and bridge a gap and cause a massive short.
The Controller

I’m using the grblHAL Teensy Breakout Board by Phil Barrett. It’s the best option for a new machine using grblHAL, and pretty well designed. It comes with all SMD components already soldered and all necessary components packaged with it.
Soldering the through-hole components on this was easy and took under an hour. Configuring and uploading the firmware was reasonably quick, following instructions for the iMXRT1062 processor. I was done with it in about an hour.
If you’re in the market for a new controller, I recommend it!