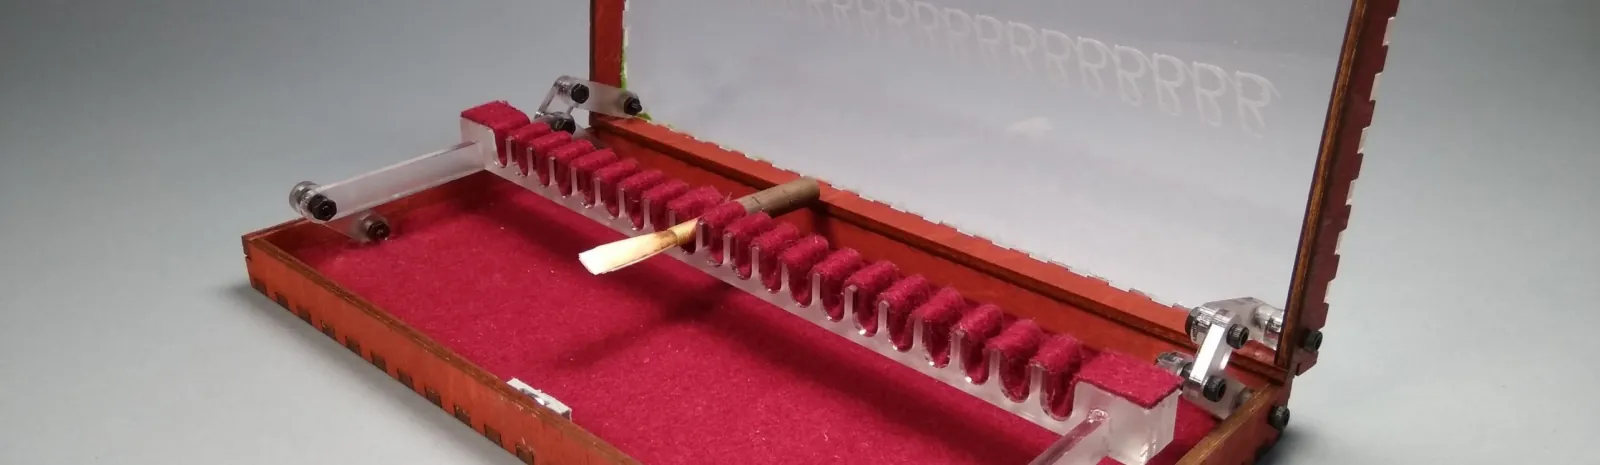
Professional oboists keep many reeds with them. These have fragile wood tips and must be carried with care. Here’s a sample oboe reed:

The Competition
Commercial carrying cases are expensive. Here are some examples from Edmund Nielsen Woodwinds:
](enw1.webp)
Design
The reed box was designed parametrically in Fusion 360, with a sample render:
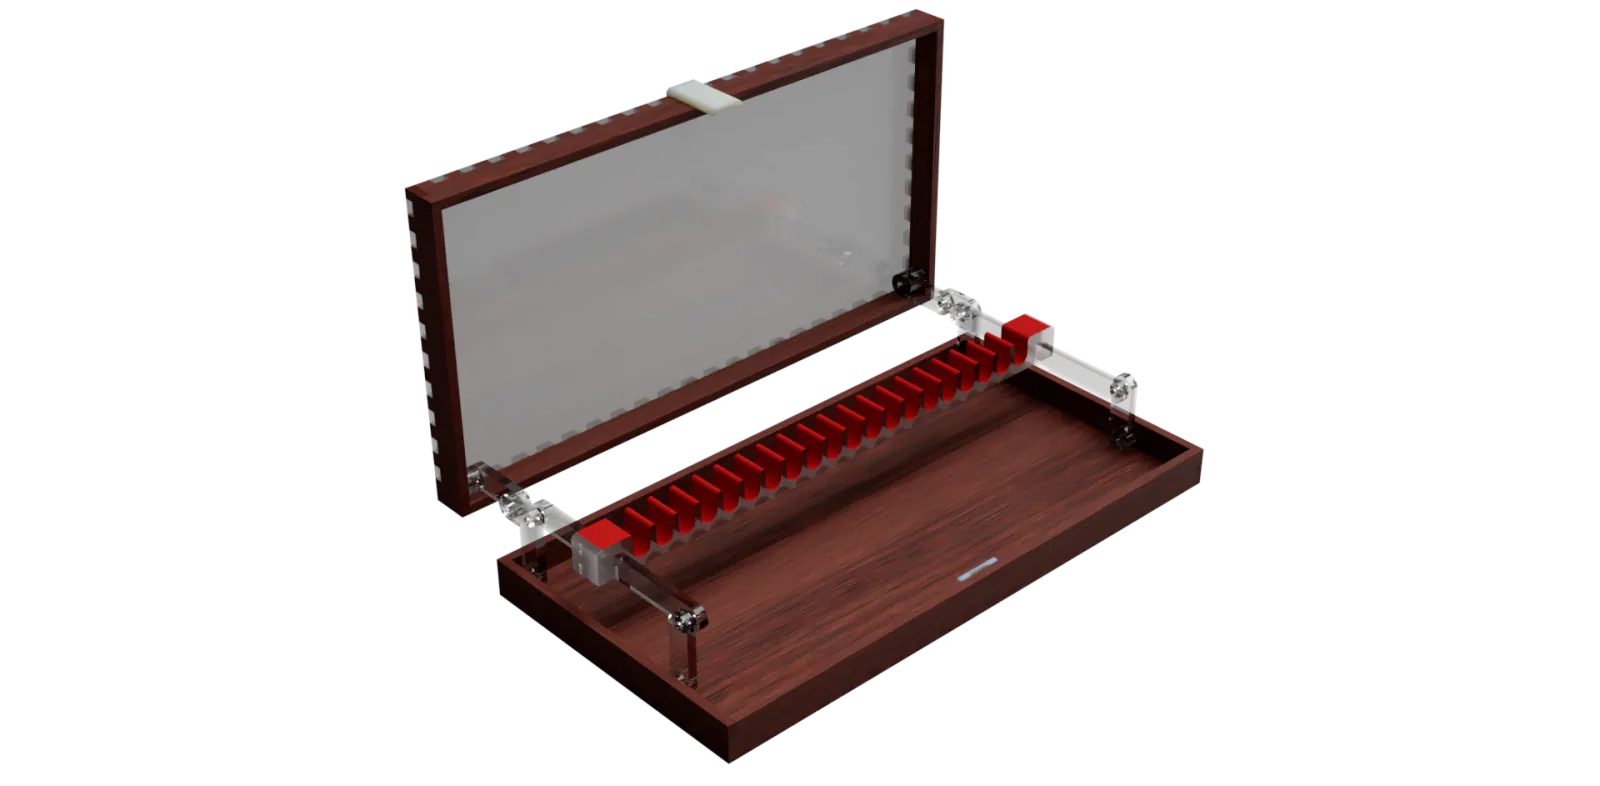
I used a folding parallelogram design for the moving parts and verified that the movement could open and close with Fusion’s built-in motion study tools. The entire box is designed to be laser cut from 3mm acrylic and birch plywood, with a 3d-printed magnetic latch to hold it close. The mechanical movement was initially designed to use 3d-printed pins, but the pin diameter was too small for a 3d printed part. The updated design is assembled using M2.5 screws and nuts:
Construction
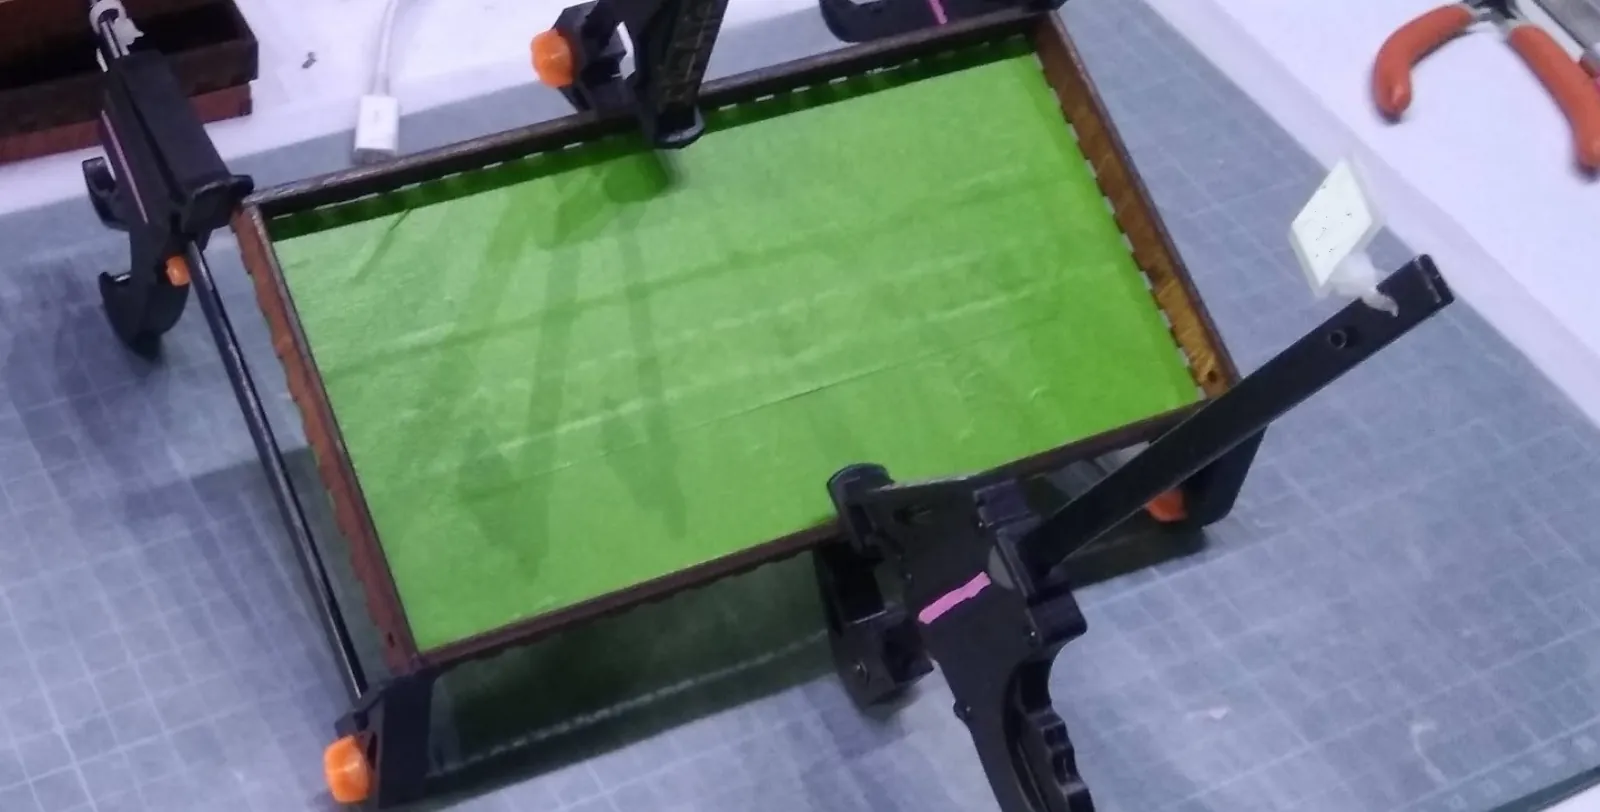
The body is made from laser-cut wood that is glued together. We cover the acrylic parts with tape to prevent offgassing residue, and clamp to ensure a strong bond:
Movement
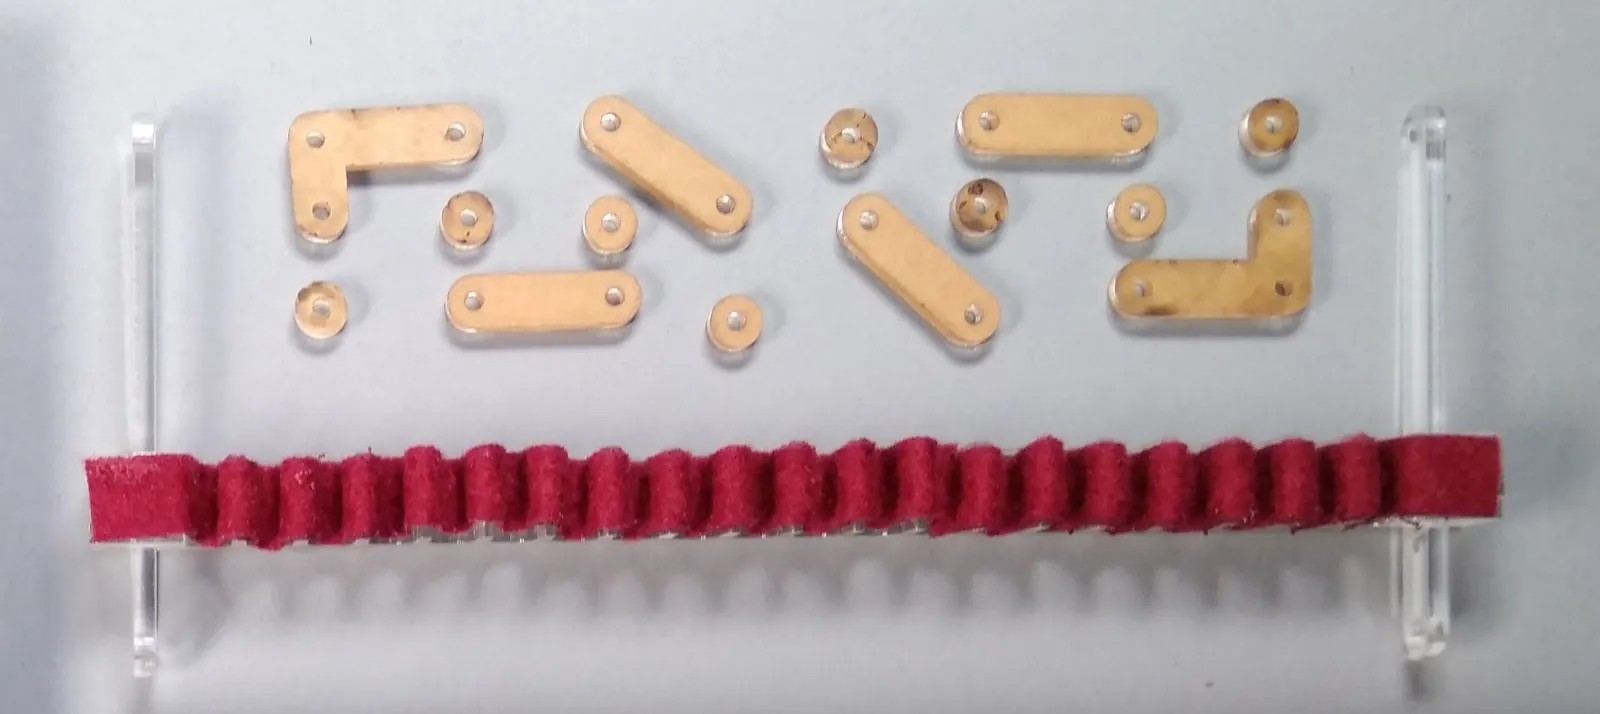
The reed carriage itself is made by stacking and gluing four identical laser-cut cross sections. Some compressible felt is glued over the top to provide friction to retain the reeds. Each reed box requires 8 nuts, and 6 screws (of varying sizes). We apply Loctite Blue 242 threadlocker on some nuts to prevent the pieces from coming apart under repeated articulation.
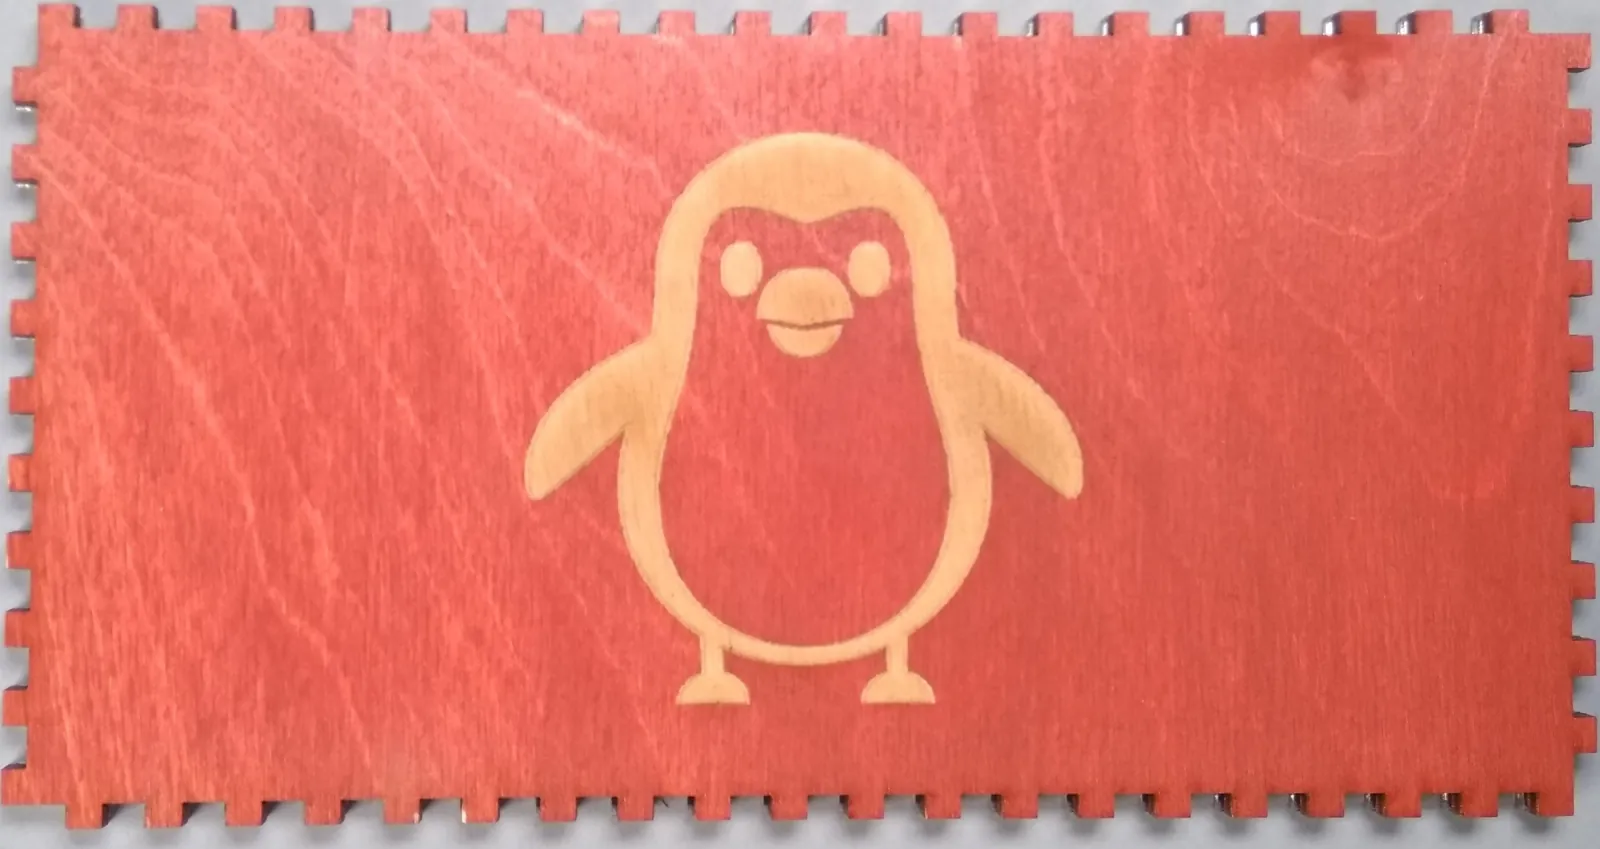
Wood Stain
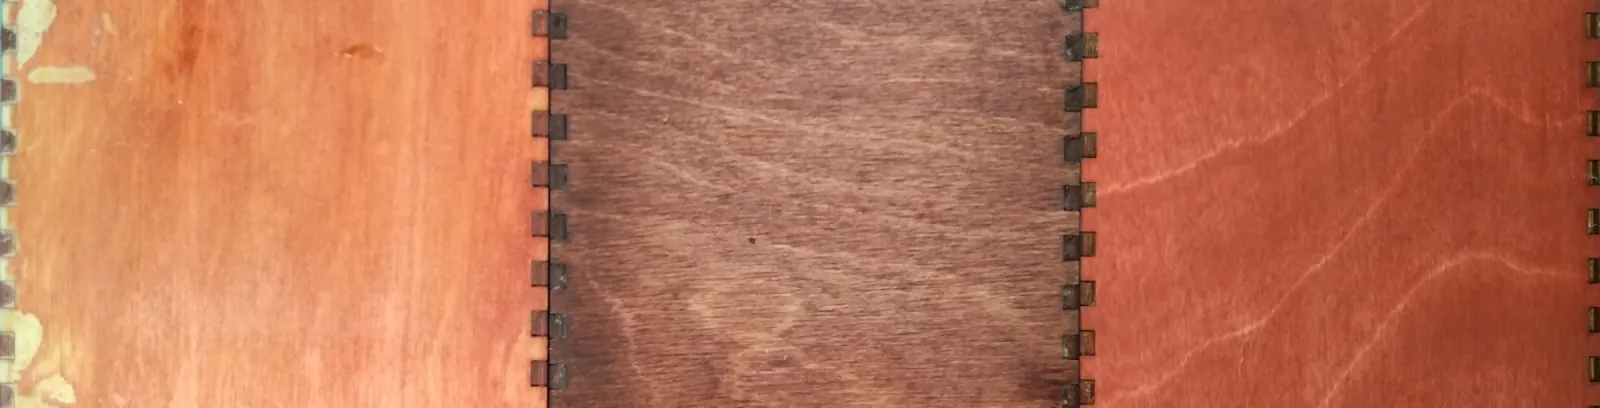
We used Minwax water-based and gel stains to stain the wood. After some experimentation, we discovered that the best process is to stain the wood before cutting. The stain only penetrates a little way through the wood, so we can also engrave patterns into the wood:
Latch
The latch is the only 3d printed component in the project. A pair of 7mm neodymium magnets are used to hold the latch closed.
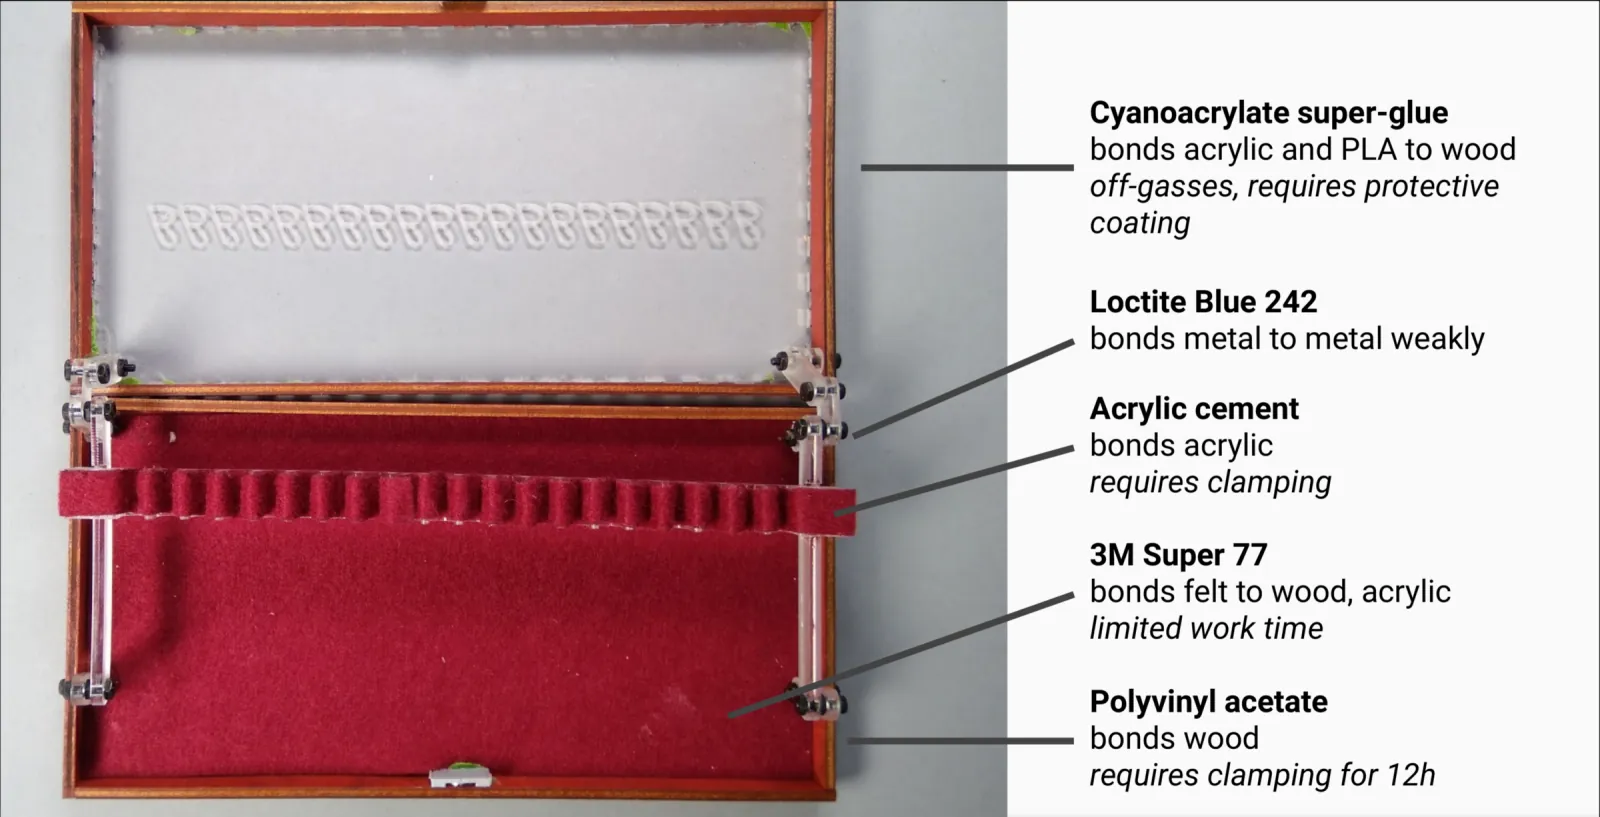
Adhesives
We use five different adhesives to assemble the box. Here’s the breakdown:
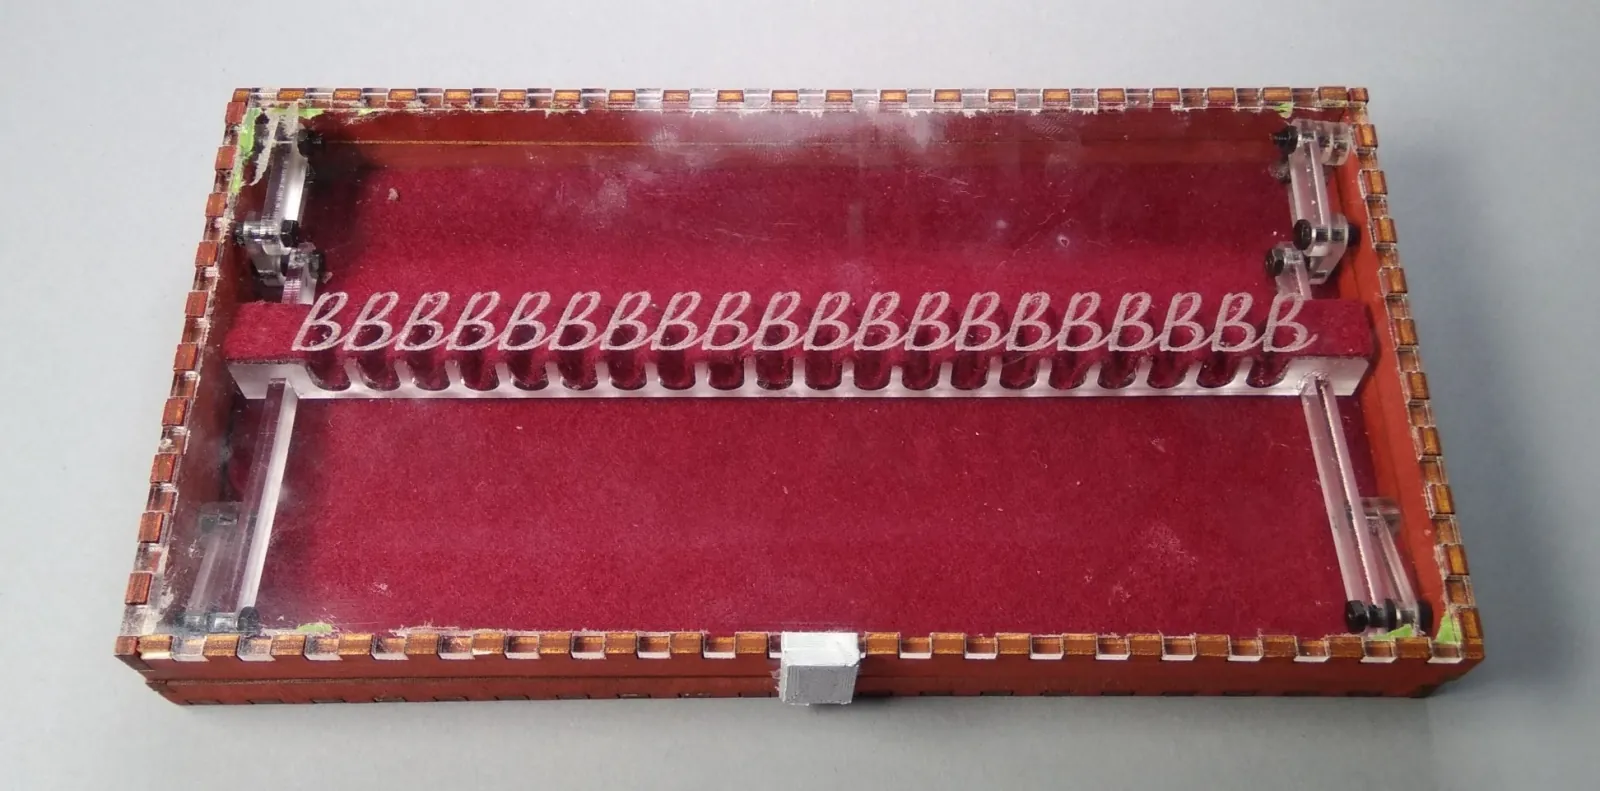
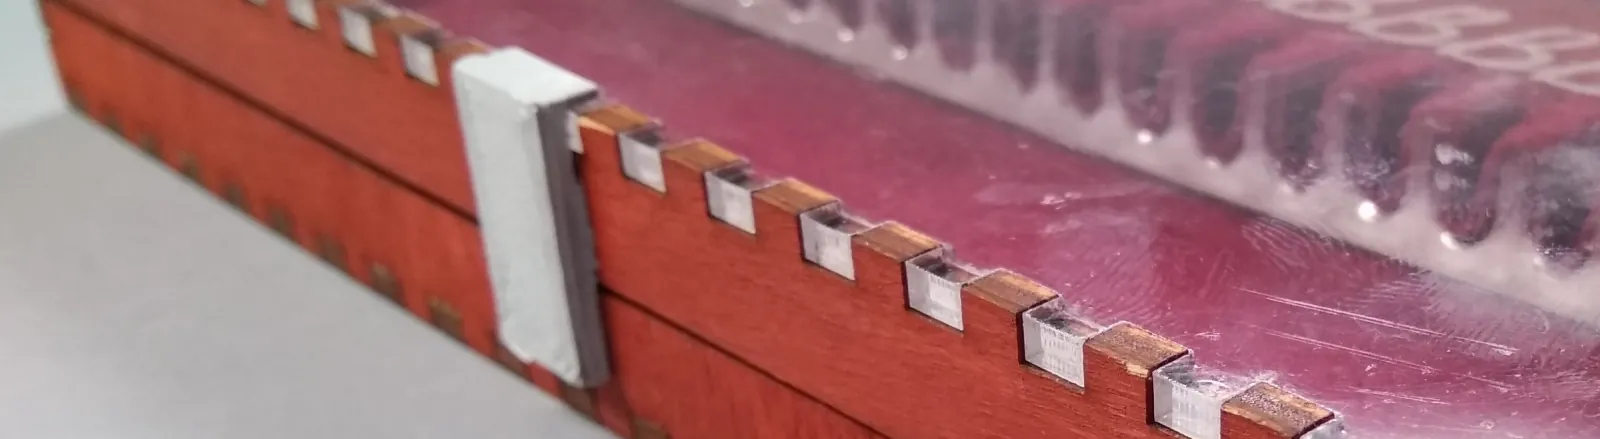
Closing
Here it is, fully assembled, and personalized with a repeating B: